If your computer contains a Realtek High Definition Audio system from Realtek semiconductor, you can enable a free feature to dedicate the front audio ports of the system chassis as a dedicated headset connection for applications such as voice communication and enhance your Voice-over-IP experience.
Part 2 - Configuring an IP soft phone to use a headset
Overview
In How to create a dedicated Voice over IP headset for your PC - for free. Part 1. we described how to enable the ‘multi streaming’ feature in the Realtek High Definition Audio system, which can enhance VoIP experience.
In part 2 we describe how to setup an application to use this feature and make the most of it.
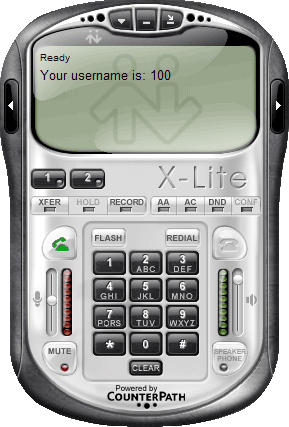
The application we have selected is X-Lite Version 3 from Counterpath. X-Lite is one of the most popular SIP compliant for Voice-Over-IP (VoIP) soft phones for Windows and is free for the basic version of the application.
We will cover how to register X-Lite with a VoIP server and how to setup headset and speakerphone with the soft phone.
The same basic concepts can be used to configure various windows applications to use the headset whether they are SIP soft phones, chat/conferencing program or others.
As touched on in part 1 of this article, this guide can also be used to configure a USB telephone handset with soft phone or chat programs. USB handsets install themselves as an audio adapter in windows and any audio application can be directed to use the specific handset.
Requirements
- X-Lite soft phone for Windows.
- A Voice over IP service that uses SIP technology. This can be your own business or local VoIP service, or a subscription based service available from an ISP or Telephony company. Popular services such as Google Talk, Live Messenger and X-Fire are proprietary and require use their own clients.
- Optional: Dedicated VoIP headset configuration using PC onboard audio or a dedicated USB VoIP/Telephony handset. We described tho to create a virtual PC headset in How to create a dedicated Voice over IP headset for your PC - for free. Part 1.
Instructions – Windows
Setting up X-Lite for the first time
- Download and install X-Lite. http://www.counterpath.com/
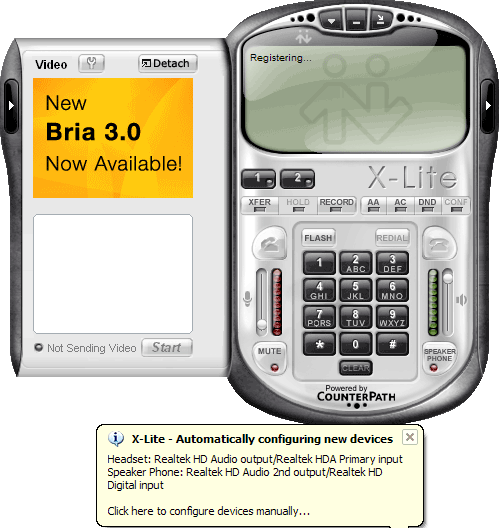
- Run X-Lite
- On first launch, X-Lite will try to automatically detect and use the audio adapters it thinks are most suitable. For our purposes, we will manually configure the audio devices in X-Lite
- With X-Lite open, right click on the soft phone and select options
- Select Devices in the options box
Use the following image as a setup guide for the audio devices tab. We will configure the front ports headset as a phone headset, the main speakers as a speakerphone and ringer from the main speakers. 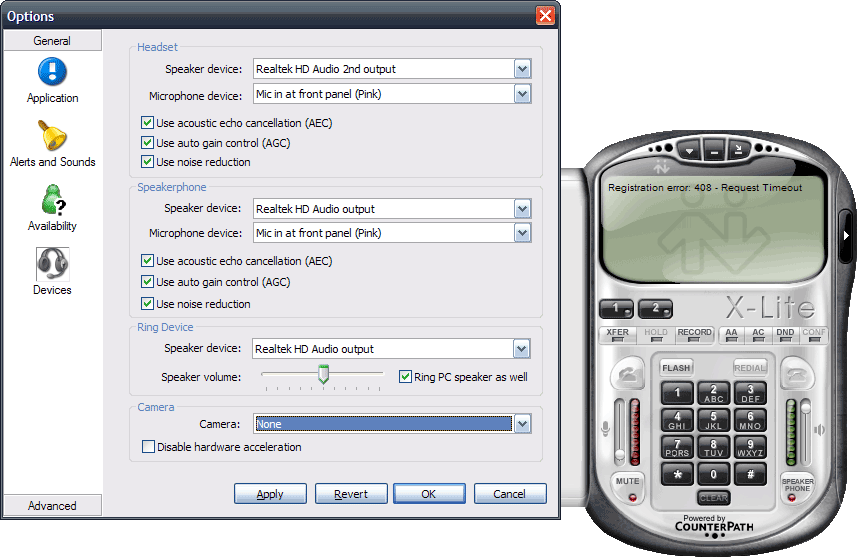
X-Lite’s audio configuration is complete. The headset is now the default audio device for X-Lite. The Speakerphone button on X-Lite’s panel will now switch between headset and speakers.
Now that the audio configuration is complete, we can now register X-Lite with your VoIP service.
How to set up X-Lite to use a SIP account
- With X-Lite open, right click on the soft phone and select SIP account settings
- Under SIP account settings, click ‘Enabled’ next to Row 1 and then click Add
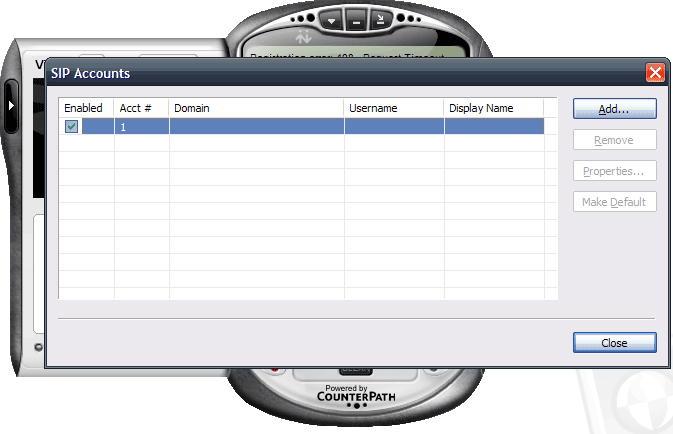
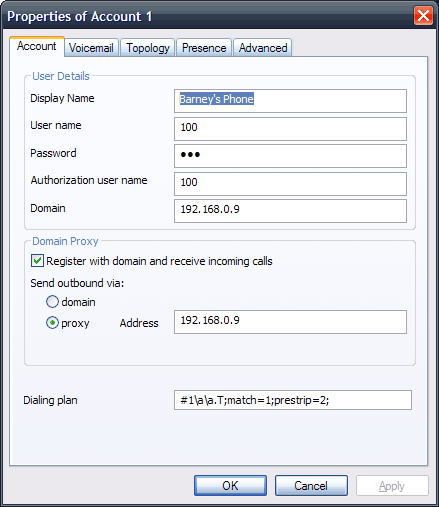
The Properties of Account 1 is displayed. Enter your VoIP account settings.
- Display Name: The Friendly name of the station, E.g. Reception, Office 1, Warehouse, Barney’s Phone
- Username: The username for the SIP account. Your VoIP provider may assign this to you. If you have your own VoIP system this is usually the extension number. E.g. 100
- Password: The password for the SIP account.
- Authorization user name: Enter your username
- Domain: enter the domain name or IP address of the VoIP server for your VoIP account. E.g. 192.168.0.9
- Register with domain and receive incoming calls: Enabled
- Send outbound via: If using a SIP proxy such as a VoIP adapter, router or server such as Asterisk/Trixbox or equivalent, set this to proxy and enter the IP address of your VoIP server. E.g.192.168.0.9
Once the SIP account is complete, the soft phone should be successfully registered with the VoIP service and the phone is ready to use.