Features and Specifications
Although Convar stated we were supplied with an AUS edition of the BytePac kit for this review, what we actually received was the standard USB 2.0 Europe Edition supplied with a AC Travel adapter. Such a bundle is not really suited for sale in Australia for legal reasons and the Travel Adapter did not fit the Plug pack transformer securely which we found was not safe to use especially considering the testing we were doing.
Since the BytePac kit is not available in Australia yet, we can classify this kit as an evaluation sample and overlook this aspect which we are sure will be rectified when this product goes on sale in regions outside europe with the appropriate region specific power supply.
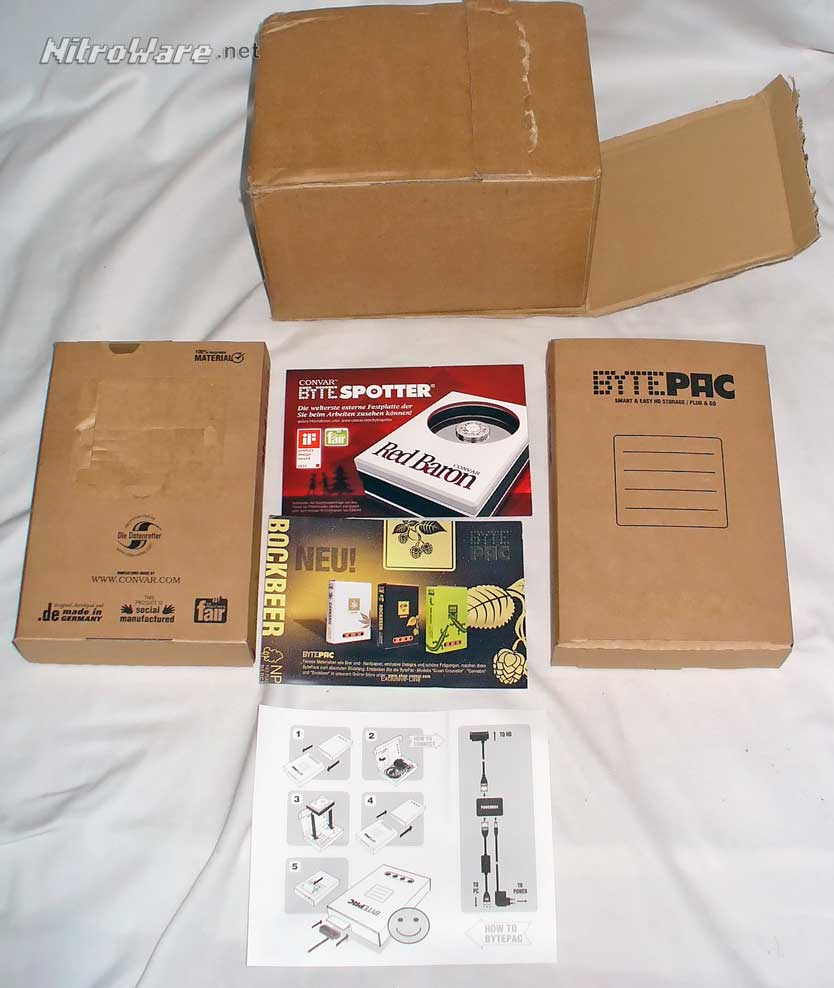
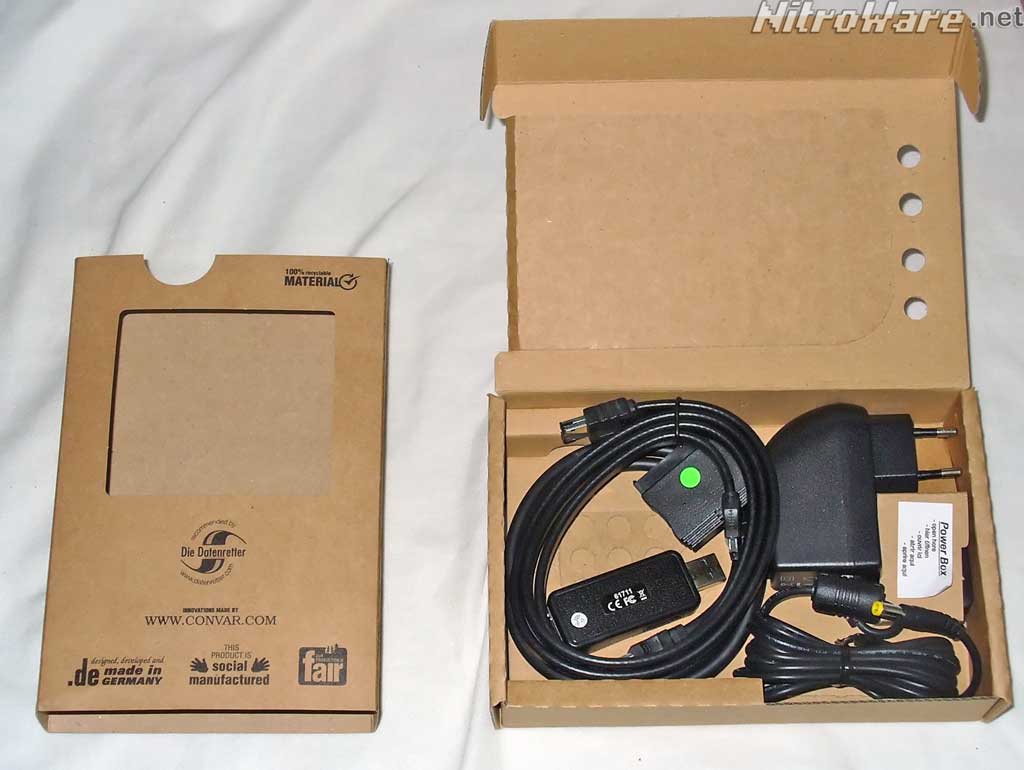
The BytePac kit as supplied to us for this review consisted of the following:
- A double-duty shipping/storage box. The shipping carton doubles as the product box to save on redundant packing materials. An appreciated touch. THe shipping carton can hold Three Bytepac Enclosures
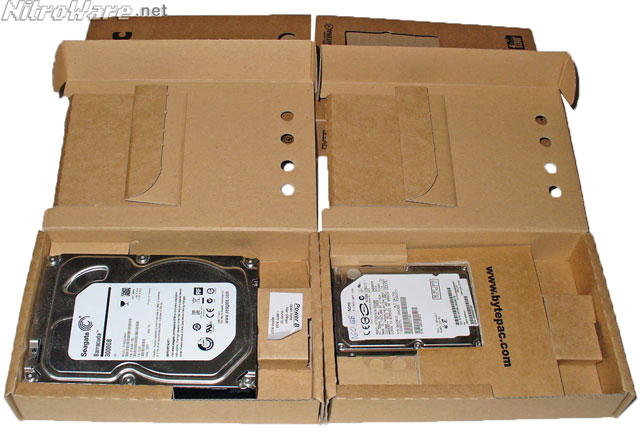
- Two BytePac cardboard 3.5" HDD enclosures.
- One cardboard 3.5 to 2.5" reducing adapter to fit into one of the 3.5" boxes
- eSATA/SATA to USB 2.0 Interface Kit including compact 12V power supply supporting 24 watts 100-250V, packed into one of the enclosures.
- Two ID sticker sets, red and green for each of the cardboard boxes/enclosures
- Setup chart and advertising material
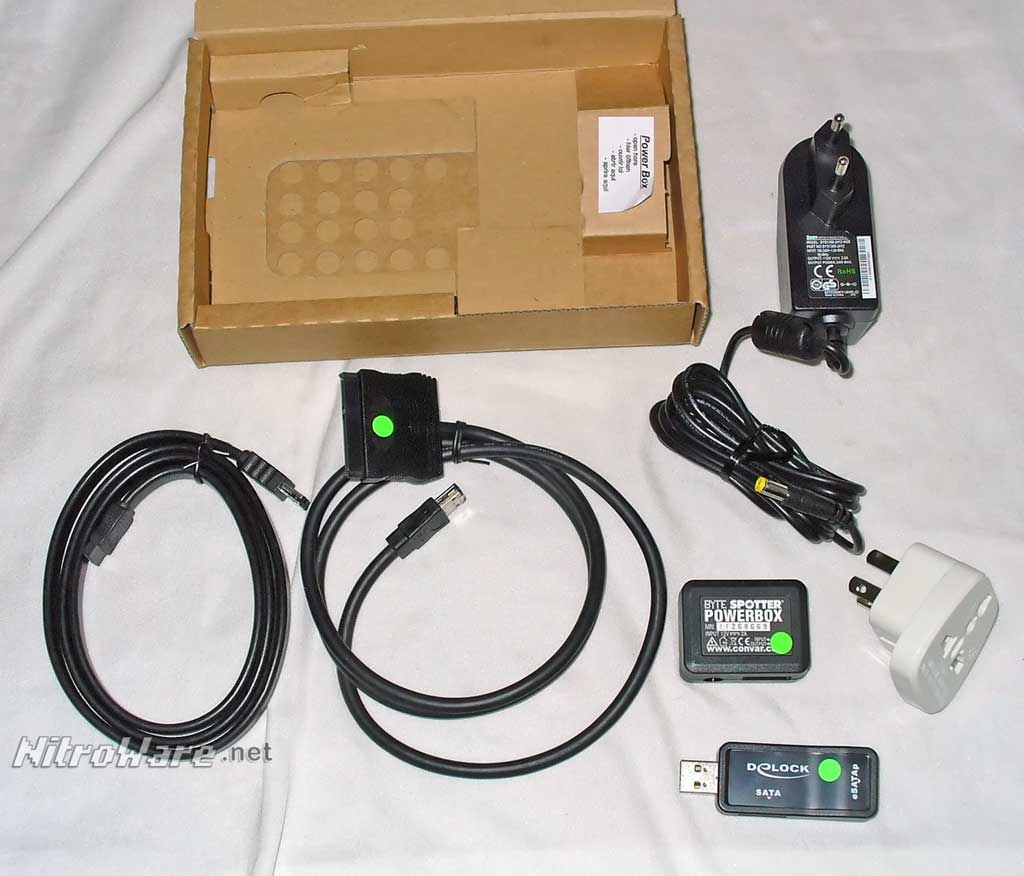
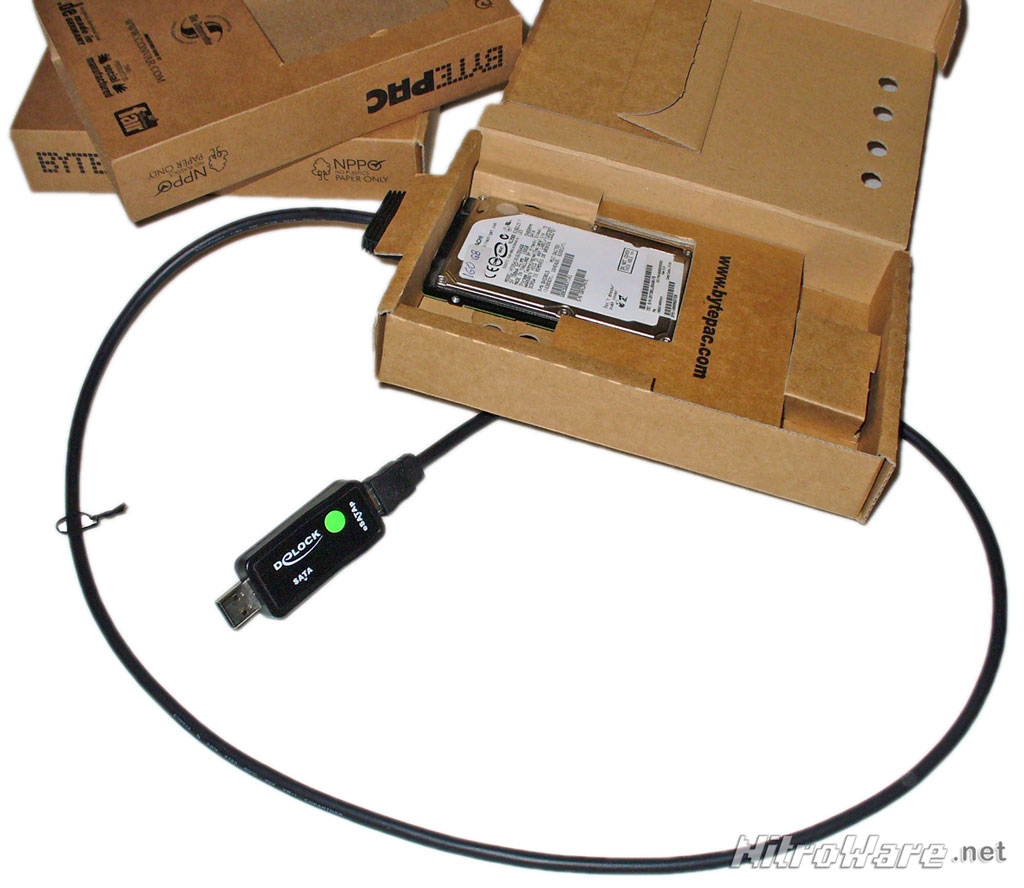
Upon receiving our review unit we noticed that the Interface kit was slightly different to the description of the product and other review samples. Our sample replaced a single piece with two pieces. The eSATA to USB cable was replaced with a separate cable and converter dongle. Although functionally the same, the setup guide was inaccurate, the cable set becomes more bulky/messy and an additional point of failure is added.
The setup is more confusing for those who are not too familiar with SATA or eSATA.
We were advised that this was due to a stock shortage
The HDD end of the cable set is a standard SATA block connector and the enclosures have a flap allowing access to the SATA port on the drive. Take care with the SATA port on the HDD as these can break off if pressured.
The interface for our sample comprised of :
- Combo SATA/Power to eSATAp 5+12V capable interface cable.
- Power box with three connections. eSATAp 5+12V, 12V DC IN, un powered eSATA
- eSATA to SATA cable
- eSATAp 5V or SATA to USB 2.0 dongle adapter
The Interface for the regular Bytepac is supposed to be:
- Combo SATA/Power to eSATAp 5+12V capable interface cable.
- Power box with three connections. eSATAp 5+12V, 12V DC IN, un powered eSATA
- eSATAp 5V to USB 2.0 cable
You may receive either due to stock availability. THe end result is the same but the means varies.
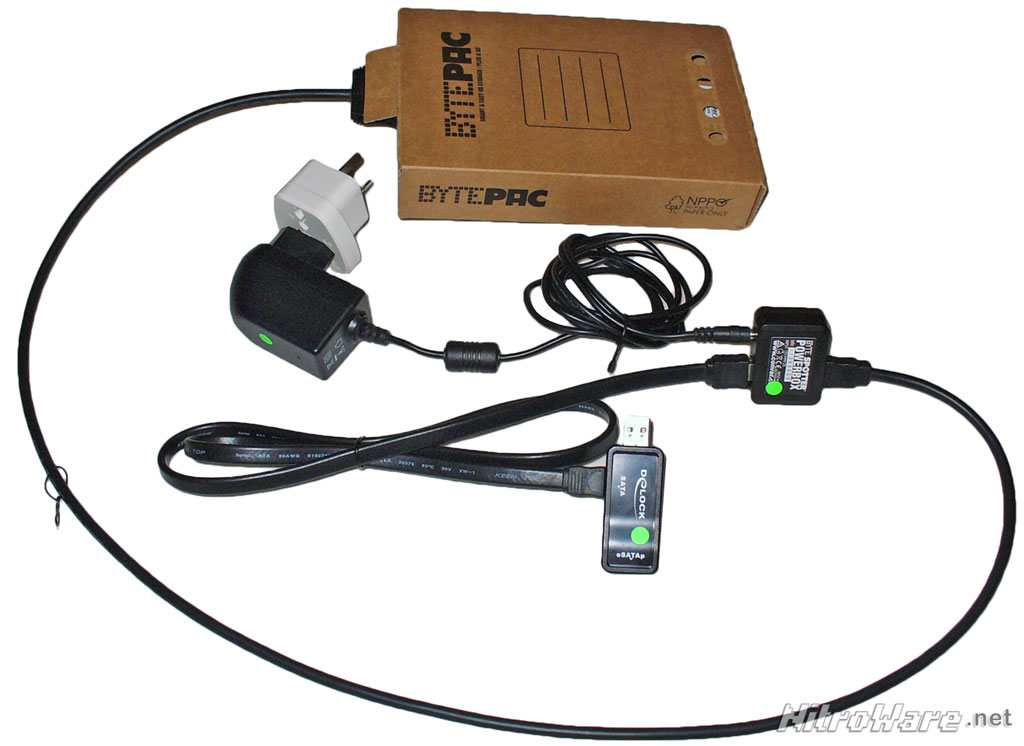
To connect a 3.5" drive to your PC, the following steps are followed with our sample
The SATA to eSATAp cable connects the HDD to the Power Box which has the 12V DC Plug pack connected to it to power the HDD
The Power box is then connected to the PC via USB 2.0 Using the eSATA to SATA cable and the SATA to USB converter dongle.
To connect to 3.5" HDD to the PC via eSATA using the DC Plug pack as you would with any other eSATA enclosure is not possible due to a eSATA to eSATA cable bizarrely not being included. In such cases, do not use the Power Box. Use the standard SATA to eSATA cable and the PC's PSU for power
To connect a 2.5 drive to the system via either eSATAp or USB is a piece of cake with our sample. Simply connect the SATA to eSATAp cable to your 2.5HDD and the other end to your eSATAp port on your PC. If you do not have a eSATAp port, attach the USB converter directly to eSATAp. Use the 2.5" converter inside the enclosure also.
We tested two different 2.5" 5400RPM HDDs, one from 2007 and one from 2011 and both ran properly off eSATAp and USB despite their labeled 1A current requirement.
Connecting the 2.5" drive via USB loses some performance versus ESATA but not much for an older drive. Higher loss is afforded to the newer drives. This is all moot with the USB 3.0 kit.
Sound complicated? Well it is. That is the expense of having flexibility. The normal kit is a little simpler in that you only have 2 cables and a power box. Any other combinations require BYO cables. There is a little more shunting possible with our sample.
It makes more sense visually but even then its in the real of techi-nerds or a 'set up once and not change' scenario.
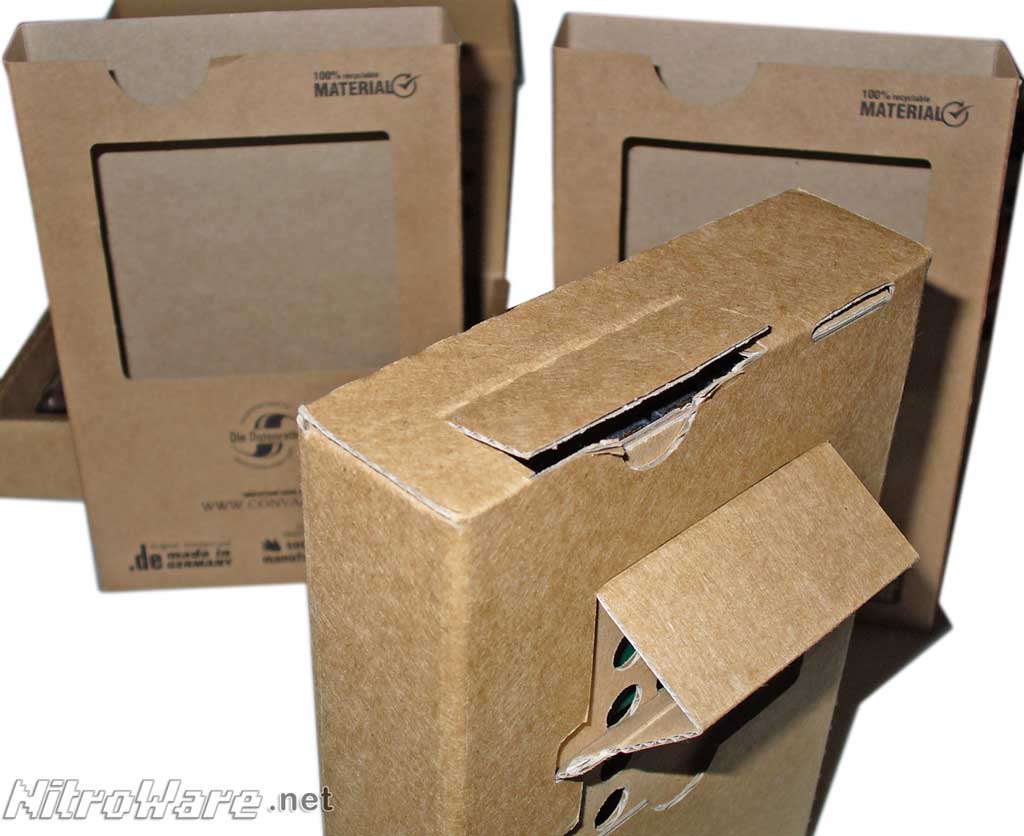
The enclosures themselves are cleverly engineered from folded compressed cardboard, the same material some PC components come in or some office stationary.
The enclosures come pre-folded into shape and the user simply has to open the enclosure, fit their hard disk, fit the 2.5 reducer if a 2.5" is being used fold down the spring and close up the enclosure.
There is a small cardboard stand on the bottom of the enclosure which we found did not do its job as it often collapsed with a heavy hard disk.
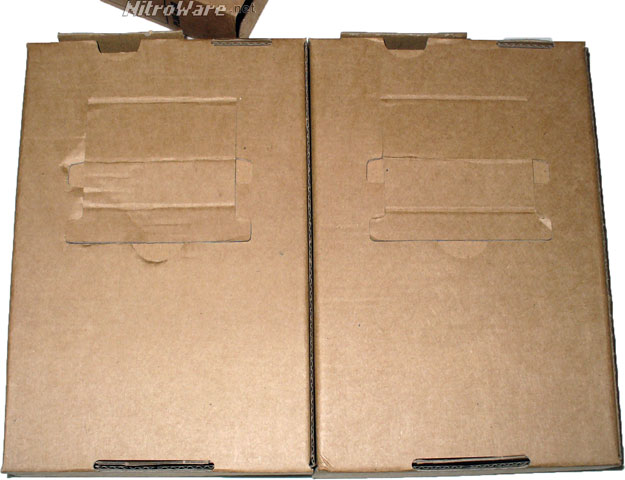
A flap on the end of the enclosure covers the SATA ports and vent holes are punched in the top and bottom to try to keep your drive cool.
As for thermal management, cardboard isn't the best for this and there is an additional fire aspect. The cardboard will burn above 200 degrees and for this reason many data-centeres do not allow cardboard to be brought into the facility as it is a fire hazard.
Convar advised us that their cardboard used in the Bytepac is fire resistant up to 230° C. I really do not want to debate the pros of cons of using cardboard versus an alloy or steel as a hard disk enclosure in the event of a fire it is just a can of worms. I will say this however, if you are worrying if your external HDD will burn or not then you need to look at your backup strategy. Keeping all your backups in the one place whether they are HDDs in cardboard Bytepac boxes, CDs, Tapes, USB keys is not a good idea.
A optional flexible paper sleeve holds the enclosure closed and allows for ID tags to be attached or interchanged between drives, which can be both confusing and handy at the same time.
We tested the enclosure on its side and found this worked quite well.
The sturdiness of the enclosure is acceptable but after some repetitive use we did see signs of wear and tear such as corners starting to fray. The included cardboard adapter was not cut correctly to size which we enlarged with a sharp knife.
The idea of a double purpose sturdy drive storage box and external enclosure is a worth while one and if you want the interface can be used as you like separate to the enclosures.
